
My Supply List
Everything I use to make my decor at home, from the powder to the finishing touch.
From my little desk to yours
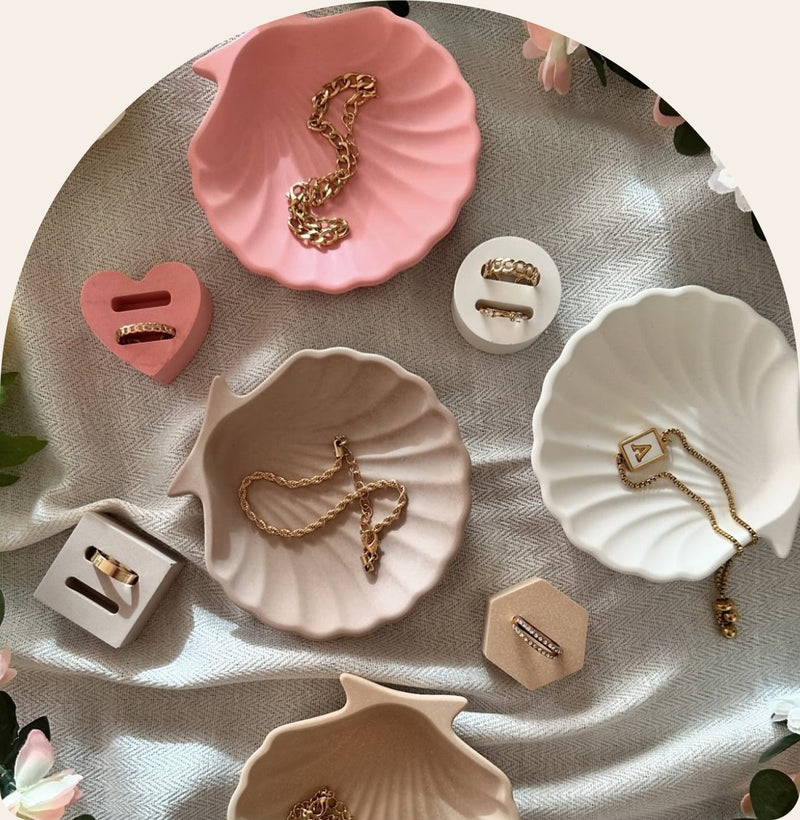
All the home decor I make comes from one small desk in a room at home. No fancy equipment needed, just what's on this list.
The base
What all my pieces are made of. Strong, smooth, and it takes color beautifully. You only mix it with water. New to casting? Start with 1 kg (2.2 lb). Hooked? The 4 kg (8.8 lb) bag is better value.
Can't find Raysin where you live? Look for a high-strength, gypsum-based casting powder that sets in about 30 to 40 minutes. Always use the water ratio on its own package.
The kit I use in my course
All the silicone tools I use in one box: the three molds from my course, plus the bowl and spatulas I mix with every day.
World of Molds has trays, vases, candle holders and coasters, and they ship worldwide. Can't find the shape you're dreaming of? You can request a mold.
Mixing
I use it to weigh the powder. The water I measure with the lines on my mixing cup. Most kitchen scales switch between ounces and grams. Use grams: it's more precise for small batches.
With measuring lines for the water. Leftovers pop right out once they've set.
Color
Finishing
Easy to hold, with sandpaper that sticks on and swaps out. I use it to smooth the rough edges of my pieces.
I use Spectrum Clear Varnish Gloss from my local hardware store. It protects your pieces and gives them a soft shine. Can't find it? Look for a clear gloss varnish at your local craft or hardware store.
Beginner mistakes I made
Tap the mold so bubbles rise, and press unfilled spots with your finger.
Give it the full set time before you take it out.
Keep stirring until it's thin streaks. A thick blob of paint can leave a chipped spot instead of a soft line.
Practice really does make perfect. After each piece, note what worked and what didn't, and use it on the next one.
Want me to show you how?
In my course I show you step by step how I mix, pour, color and finish every piece, so you know exactly what to do from your very first pour.
As an Amazon Associate I earn from qualifying purchases. Some links on this page are affiliate links: if you buy through them, I may earn a small commission at no extra cost to you.